Showing posts with label Baking. Show all posts

Mar 16, 2012

Lemon Yogurt Cake

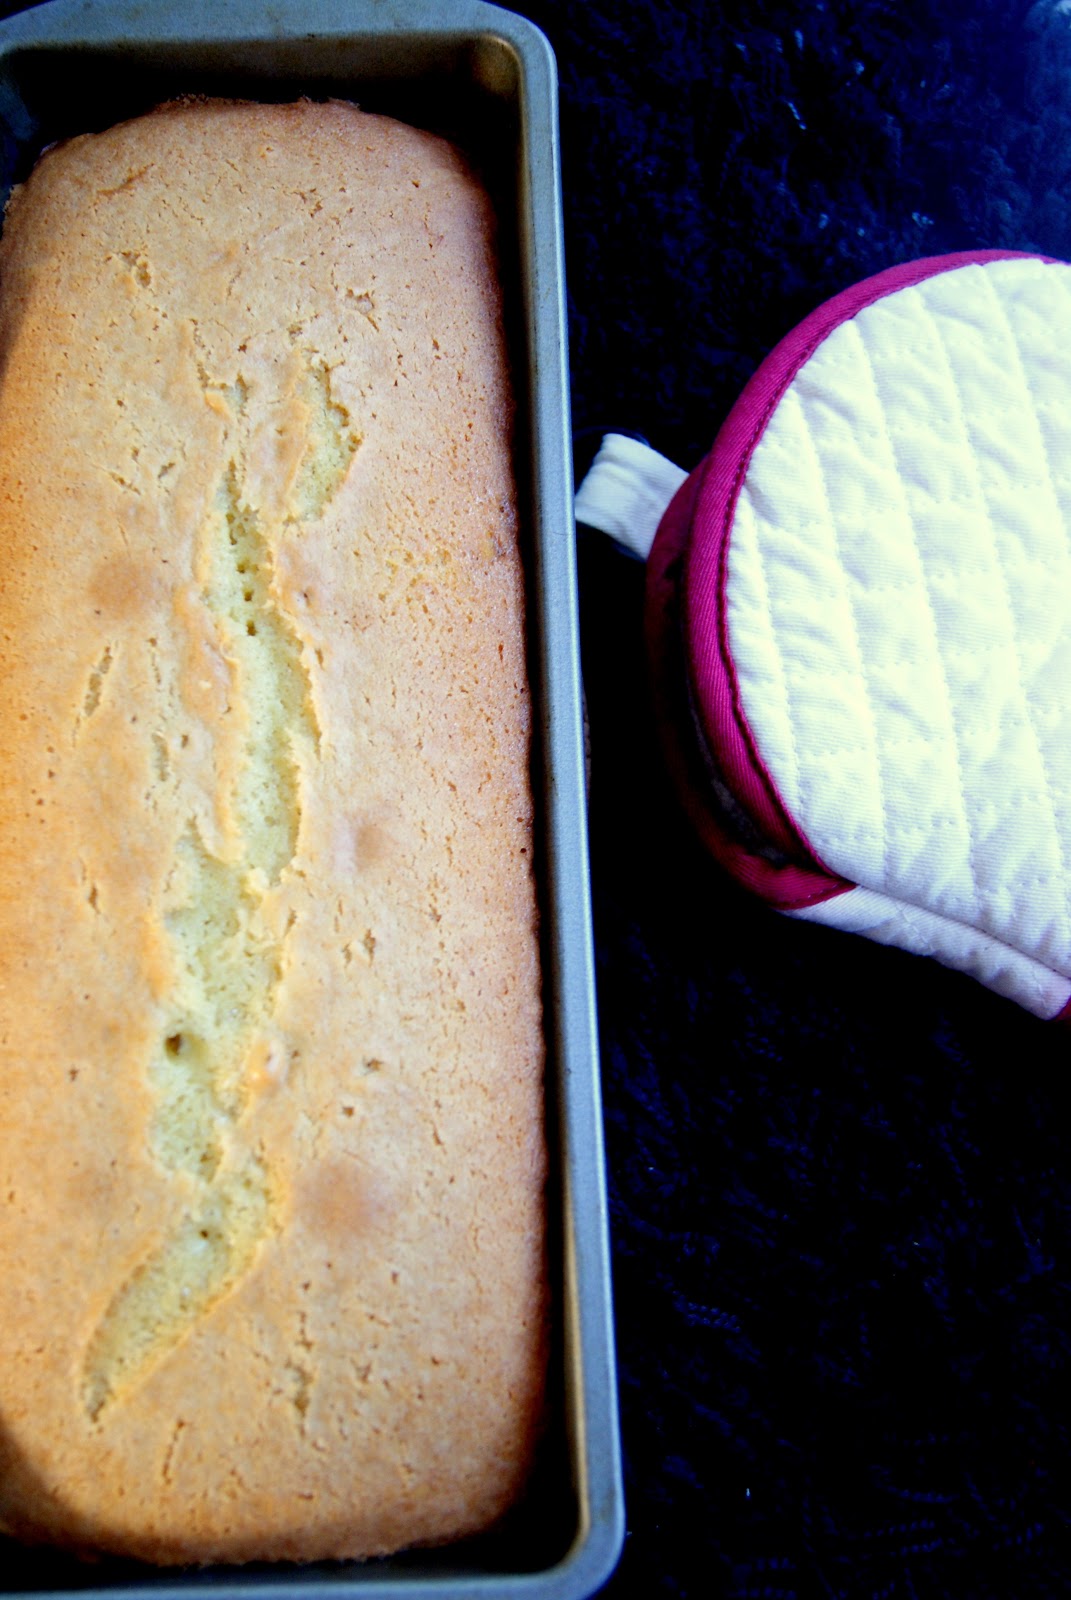
It has been a while since I posted a recipe here in this blog thanks to my laziness! I wanted to post some baked item since it has been a really long time I posted one. I have been baking once in a while, but it has mostly been the regular banana bread, cookies and puffs. I made this lemon yogurt cake last week when I saw Ria's recipe. The cake turned out really moist and perfectly sweet with a little tanginess from the lemon and the freshness of the lemon zest. I made these with lemons I had grabbed from a neighbor's garden. Yes we are fortunate to have lemon and orange trees here in Southern California!


This recipe is a keeper and I definitely will be making this again..

Ingredients
    Recipe Source: Ria's Collection
    Unsalted butter, softened - 180 grams or 12 tablespoons
    Sugar - 1 1/4 cups
    Eggs - 3 whole and 1 egg yolk
    Juice and zest from 1 lemon/lime
    All purpose flour/Maida - 1 cup
    Whole wheat flour - 1/4 cup
    Baking powder - 1 teaspoon
    Baking soda - 1/2 teaspoon
    Yogurt - 5 tablespoon
    Salt - 1/2 teaspoon


Directions

  1. Preheat oven to 180C or 350F.
  2. Butter and flour a 9 inch baking tin.
  3. In a mixing bowl, whisk together all the dry ingredients - the all purpose flour, whole wheat flour, baking powder, baking soda and salt.
  4. In another mixing bowl, beat together the butter and sugar until creamy, for about 2 minutes.
  5. Add the eggs one by one and continue beating.
  6. Add the lemon juice and the zest and combine.
  7. Then add the prepared flour mix and beat together well until mixed thoroughly.
  8. Finally add the yogurt and beat for a minute. The batter is now ready.
  9. Pour the prepared batter into the prepared tin and bake for about 60 minutes. A toothpick or skewer inserted should come out clean.
  10. Allow the cake to cool down before removing from the pan and slicing.


Enjoy!


Dec 7, 2011

Eggnog Cake

I love to shop at Trader Joes! Period.

I love looking at the various aisles filled with unique ingredients and each time I visit the store, I always pick up something new to try! With the store situated one block away from my house, you can see me lurking the store often.. I have even been considering blogging about my Trader Joes' finds! 


During one such trip to the store, I happened to notice a carton of Eggnog! I have never bought or tasted eggnogs before. I came home and researched about eggnogs and happened to learn that it was a famous holiday drink.. It is made with egg and milk and rich in calories. I even came across some amazing recipes with eggnog. During my next trip I got a carton of light eggnog which is far lesser in fat and calories compared to the regular eggnog. 

I had the idea of making a simple pound cake with the eggnog. But I was too lazy to whip up my own cake and I was also running out of time. So I made use of a boxed cake mix to make this delicious cake. Any boxed cake mix can be used for this recipe. Just ignore the recipe instructions in the box and you can make this cake in a matter of minute using just 3 ingredients.

Ingredients (yields two 9 inch round cakes or one large bundt cake)
Any boxed cake mix - 16 oz ( I used Betty Crocker's Carrot cake mix)
Eggs - 2
Eggnog - 1 1/2  cups
Eggnog - 1/2 cup (for drizzling over the cake)


Instructions
  1. Preheat the oven to 350F.
  2. In a large mixing bowl, beat together the eggs and the egg nog(1.5 cups) for about a minute using an electric hand mixer.
  3. Slowly add the cake mix in batches and beat for about 2 minutes until well combined.
  4. Grease two 9 or 10 inch cake pans or one large bundt pan or two loaf pans with cooking spray or butter.
  5. Slowly add the prepared batter to the pans.
  6. Bake in the preheated oven for about 35 to 40 minutes until a toothpick inserted comes out clean.
  7. When the cake is done, let the cake cool in the pan for about 10 minutes and transfer it to a wire rack.
  8. Drizzle the remaining half cup of eggnog over the cake. 
  9. The cake absorbs all the eggnog and results in a mist and rich cake.
  10. Serve the cake as a dessert!

The theme for this month's Sweet Punch Baking is 'Your Choice'. This is my entry for this month's Sweet Punch!

Sending this to Let's Cook- Baked GoodiesCooking Concepts- Holiday BakingA 100 Day Global Food FestivalSYF and HWS Series- Cardamom,  Jingle All The Way,  Christmas DelicacySinful Delights and Bake Fest


Nov 9, 2011

Coffee and Chocolate Pudding

Chocolate and coffee make a classic combo and they are an irresistible combination! I made this Coffee and Chocolate Pudding for this month's Sweet Punch.


The pudding turned out to be a delectable and elegant dessert to be served on any occasion - be it a grand party or a simple weeknight indulgence! It hardly takes five minutes of preparation and twenty minutes to bake and there you have an exotic dessert at the table in less than half an hour!

Ingredients
(Recipe Source: www.fairlady.com)
All Purpose Flour - 1 cup
Baking Powder - 2 teaspoons
Cocoa - 2 teaspoons (I used Ghirardelli unsweetened cocoa)
Brown Sugar - 1/2 cup
Melted Butter - 2 tablespoons
Milk - 1/2 cup
Egg - 1 beaten
Salt - 1 pinch
Hazelnuts/almonds/walnuts - 50 grams chopped


For the topping
Brewed Coffee - 1 cup
Brown Sugar - 1/2 cup
Cocoa - 3 tablespoons


Instructions
  1. Preheat oven to 180C or 350F.
  2. Sift together all the dry ingredients - flour, baking powder, cocoa, brown sugar and salt.
  3. Stir together the butter, milk, egg and nuts until well combined.
  4. Mix the dry and wet ingredients together.
  5. Spoon the batter into 4 rameins or mugs.
  6. Sprinkle over brown sugar and cocoa and then pour over the brewed coffee. but do not stir.
  7. Bake in the preheated oven for 20 minutes.
  8. Dust with cocoa powder or sugar or cinnamon.
  9. Serve warm with some vanilla icecream!

Sending this to Bake Fest and Winter Carnival.

Aug 23, 2011

Perfect Pound Cake

Pound cakes are really simple to make and perfect for any occasion! Great along with evening teas; more exotic when served along with a cream cheese or simple lemon frosting; a perfect accompaniment with some strawberry syrup, and amazing with some ice-cream by the side and served as an elegant dessert! However you may serve this cake, this cake sure tastes delicious.

I was unable to bake this cake for last month's sweet punch, but I knew i had to make it sometime after hearing so many good reviews from everyone. I made this one evening and I was surprised when it tasted very much like the cakes we get in the bakeries in my native place.

This pound cake turned out to be moist, fluffy and perfect! It is a foolproof recipe and great for first time bakers! Measure the ingredients, whisk them together and pop it into the oven and delicious pound cake is ready in minutes!


Ingredients
Recipe Source: The Cake Bible
Milk - 3 tablespoons
Eggs - 3 large
Vanilla extract - 1 1/2 teaspoon
Sifted cake flour - 1 1/2 cups
Sugar - 3/4 cup
Baking powder - 3/4 teaspoon
Salt - 1/4 teaspoon
Unsalted butter - 13 tablespoons, softened (184 grams)

Instructions

  1. Preheat your oven to 350 F. Butter an 8 x 4 x 2.5 inch loaf pan, or any six cup loaf or fluted tube pan. Lightly whisk together milk, eggs and vanilla in a medium bowl.
  2. Place dry ingredients in a large bowl and mix on low speed for 30 seconds, until blended. Add the butter and half the egg mixture, and mix until dry ingredients are moistened. on medium speed, beat for a minute. This will aerate and develop the cake's structure. Scrape down the sides of the bowl.
  3. Add the remaining egg mixture in two batches, beating for 20 seconds between each addition. Scrape down the sides of the bowl again.
  4. Pour the prepared batter into the prepared pan. Smooth the surface with a spatula. bake for 55-65 minutes (35-45 minutes if baking in a fluted tube pan), until a wooden toothpick inserted into the center comes out clean. Let the cake cool on a rack in the pan for 10 minutes before inverting onto a greased wire rack. if using a loaf pan, flip the cake over so the top is up.


For making Cake Flour at home : Take one cup of all purpose flour and remove 2 tablespoons from it. Replace the 2 tablespoon flour with corn flour and sift together 2 to 3 times. Cake flour is ready to use.

Jun 27, 2011

Marble Cake

This is one pretty cake which does not require any frosting and it looks beautiful and tastes great by itself. It is very similar to the zebra cake except that the cake has a marbled effect and not the perfect black and white lines. It is fun to have a random mix of chocolate and plain vanilla cake in each bite.

Ingredients
Recipe Source: Joy of Baking
Maida/All purpose Flour - 2 1/4 cups
Unsalted butter - 1/2 cup at room temperature
Granulated sugar - 1 1/4 cups
Eggs - 2
Semisweet Chocolate, chopped roughly - 2 oz or about 55 gms
Brewed coffee - 1 tablespon
Vanilla Extract - 2 teaspoons
Sour cream/Yogurt - 3/4 cup
Milk - 1/3 cup
Cinnamon powder - 1/2 teaspoon
Baking powder - 1 tablespoon
Baking soda - 1/2 teaspoon
Salt - 1/4 teaspoon

Directions
Preheat oven to 350F.

Melt the semisweet chocolate and brewed coffee in a double boiler (Bring water to a simmering boil in a saucepan. Place a the semisweet chocolate and brewed coffee in a stainless steel bowl and place the bowl in the saucepan with water). Once the chocolate melts, remove from the heat and set aside. Alternatively, you could microwave the chocolate and coffee together for about 30 seconds.

In a bowl, sift together the flour, salt, baking soda, baking powder and cinnamon.

In another bowl, cream together the butter and sugar using a hand mixer/electric mixer until soft and fluffy or about 2 to 3 minutes. Add eggs, one by one and continue beating. Slowly add in the vanilla extract and sour cream and beat until well incorporated.

Slowly add in the flour mixture and milk by alternating them and continue beating, until you have added all the flour and milk.

Once the batter is ready, pour half of the batter into another bowl and add the melted chocolate into one half and mix thoroughly.

Grease a bundt/loaf pan and pour the batter into the pan alternating with a spoon of chocolate and vanilla batter. Using a spatula or a spoon, draw some swirls in the batter to give a swirling effect.

Bake in the preheated oven for 50 to 60 minutes until a toothpick inserted comes out clean. Cool on a wire rack for about 10 minutes and slice the cake.

Serve warm or at room temperature.

This cake makes a great snack at picnics and this is my post for the Blogging Marathon with the theme Picnic Food. Check out the Blogging Marathon page for the other Blogging Marathoners doing BM#6

Jun 26, 2011

Kale Chips!

Are you someone who hates kale? Then you should definitely try these crispy, crunchy, delicious kale chips! I have been seeing these kale chips a lot around the blogosphere and I had to try it. Kale is a chock full of Vitamin A, C, calcium and iron. I grabbed a bunch of kale from my farmers market to make this chips and some salad. But I have been staying away from kale salads, fearing it might have some strong taste. But when I made these chips, I knew I am going to make these very often! They are so addictive like potato chips!

The recipe is so simple. I kept it simple by adding olive oil, salt and apple cider vinegar. The vinegar gave some tanginess to the chips. The chips also taste great with just olive oil and salt. You could also make several other variations - pepper, rice vinegar, balsamic vinegar, canola/vegetable oil, nutritional yeast, flax seed meal, garlic salt, italian seasoning etc.

Ingredients
Kale - 1 bunch
Olive oil - 1 tablespoon
Apple cider vinegar - 1 teaspoon
Salt to taste

Directions
Wash the kale and dry them well with paper towels. The leaves should be dried completely. If wet, the kale would just be steamed instead of turning into chips.

Tear the kale leaves into bite sized pieces leaving the thick vein or inner stalk.

In a bowl add the kale and drizzle some olive oil, vinegar and salt to taste. Using both your hands, massage the kale well, so that the seasonings blend well with the kale leaves.

Preheat oven to 350 F.
In a baking tray, line with parchment paper or spray with some non-stick cooking spray and line the kale leaves in a single layer. Do not over crowd the pan as it might result in steamed kale and the chips might not turn crispy.

Bakein the oven for about 10 - 15 minutes depending on the oven. Keep checking after 10 minutes to see if the chips have become crunchy and crispy. Mine took around 12 minutes to turn crispy.

Enjoy! Store in an airtight container.

This is my entry for the Blogging Marathon with the theme Picnic Food. This would be a great healthy snack to munch on during picnics. Check out the Blogging Marathon page for the other Blogging Marathoners doing BM#6
Also sending this to Quick and Easy Recipe Mela.

Jun 24, 2011

10 Minute Banana Bread

I bake banana breads often, atleast once a month. I make sure we have a few ripe bananas left just to make this banana bread. i have experimented different banana bread recipes, but this one has been a recent favorite and a regular at my kitchen these days. It is so simple and takes about 10 minutes from the start till it gets into the oven.

Picnics are all about food and snacking. A fresh loaf of this banana bread makes a great picnic snack. it can be stored easily and sliced just before enjoying. Also makes a great quick and filling breakfast/snack with some coffee or tea. This is my second post for the blogging marathon!

Ingredients (Yields 1 full sized loaf or 2 small loaves)
Recipe Source: www.thefreshloaf.com


Bowl 1
Butter - 1/2 stick or 5 tablespoons
Eggs - 2
Ripe bananas - 2 or 3
Sugar - 2/3 cups

Bowl 2
Maida/All purpose flour - 11/3 cup
Salt - 3/4 teaspoon
Baking soda - 1/2 teaspoon
Baking powder - 1/4 teaspoon
Cinnamon - 1/2 teaspoon (optional)

Walnuts - 1/2 cup (optional)

Directions
Preheat oven to 350F.

In a bowl combine all ingredients listed under 'Bowl 1' and using a potato masher, or a fork or a spoon mash the bananas well. The banana should be mashed well, but a few chunks here and there should be fine.

In another bowl, combine all the dry ingredients listed under 'Bowl 2.'

Then, combine the wet and dry ingredients together and stir in the chopped walnuts.

Pour the prepared batter into a greased loaf pan and bake until a toothpick inserted comes out clean.

It take 40 minutes for small sized loaf pans and 50 minutes for large loaf pans approximately, depending on ovens.

Remove from the oven and allow the loaves to cool for about 10 minutes before removing it from the pan and slicing the bread.

Serve warm or cold. This bread also freezes well when wrapped in foil and stored in a ziploc bag.

Jun 15, 2011

Iyengar bakery Khara Biscuit for ICC

Iyengar Bakery Khara Biscuits was the recipe featured for this month's Indian Cooking Challenge. Though, I haven't tasted/tried making these biscuits/cookies, these were so easy to make and tasted delicious too. I made them this evening along with our evening coffee and they made a great accompaniment to the coffee. We loved the Indian touch to the cookies, because of the addition of green chillies and coriander and no eggs and baking soda which are regular ingredients in any cookie!

Ingredients
Maida/All purpose Flour - 2 cups/250 gms
Butter - 1/3 cup at room temperature
Green chilly - 1 minced or finely chopped
Sugar - 4 teaspoons
Salt - 1 teaspoon
Cilantro/Coriander leaves - a few sprigs
Yogurt/curd - 3 tablespoons

Directions
Preheat oven to 350F.

In a mixing bowl, combine the flour and salt together. In another bowl, cream the butter and sugar together. Also add the yogurt and mix together until incorporated.

Slowly add the flour-salt mixture to the wet ingredients and knead well until everything comes together.

Also add the chopped chilly and coriander leaves along with the dough while kneading.

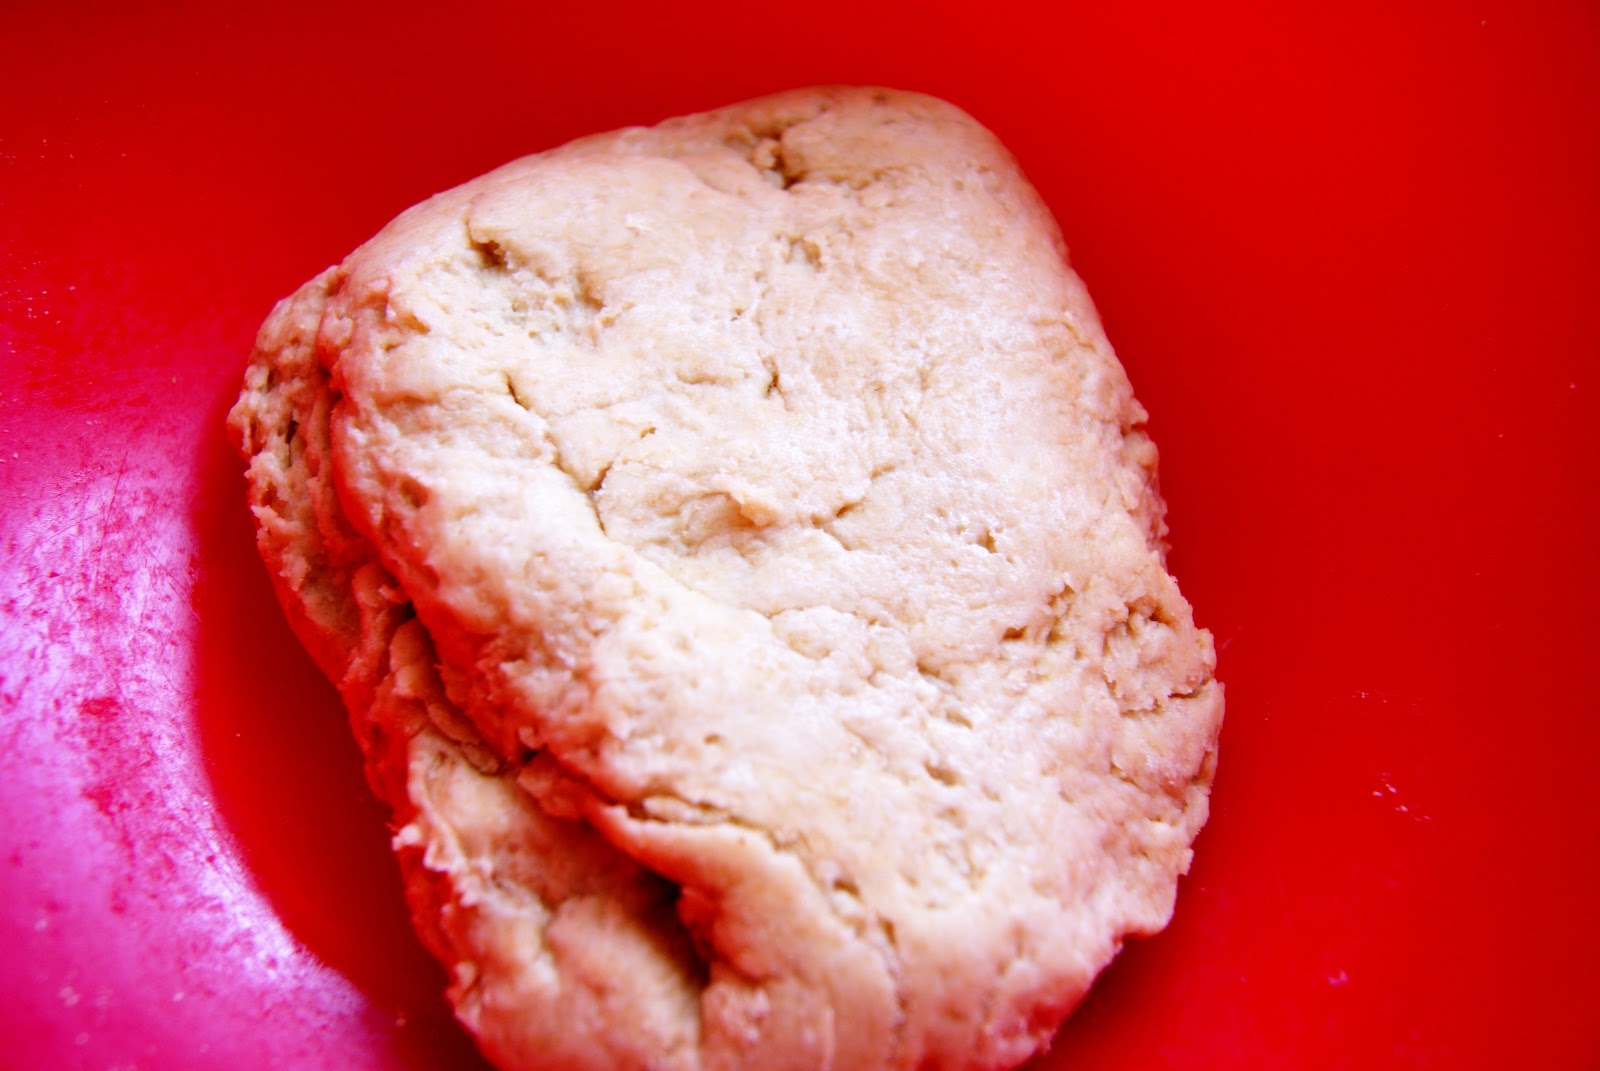
Roll the dough into 1/4th inch thickness and cut using cookie cutters into desired shapes. I flattened the cookies slightly with a fork to make impressions.

Bake for about 20 minutes until it turns  golden brown in color. The cookies might be soft when you remove them from the oven in 20 minutes. But they crisp up when they cool down.

Cool on a wire rack and store them in airtight containers.

Serve along with coffee or tea!

May 9, 2011

Almond Meal Cookies

It is Sweet Punch time of the month again! We are celebrating our one year anniversary and we were allowed to bake any item of our choice! We have been baking pizzas, wholewheat almond cookies,  fruit crumbles, molten lava cakes and many more interesting bakes! I chose to adapt Martha Stewart recipe this month and bake this delicious almond meal cookies. They were perfect for tea time and they tasted very much like the chinese almond cookies served at restaurants after meals.

 They are so easy to put together and can also be made with fresh almonds instead of almond meal. I just had a pack of almond meal from TJ's waiting to be finished up and hence used it in this recipe.

Ingredients
Almond meal - 1 cup
Unsalted butter (at room temperature) - 1 cup
Sugar - 3/4 cup
Egg - 1
Finely grated orange zest - 1 teaspoon
All purpose flour/maida - 1 cup
Baking soda - 1/2 teaspoon
Salt - 1/4 teaspoon

Note: If using whole almonds instead of the almond meal, toast 1 cup of almonds in a preheated oven at 350 degrees for about 5 to 6 minutes. Allow it to cool and pulse in a food processor until finely powdered. Do not over process as it might turn into almond butter.

Directions
  • Preheat oven to 350 degrees.
  • In a mixing bowl, beat the butter and sugar together with an electric mixer or with a whisk until it turns fluffy. Add the whole egg and the orange zest and continue beating until it turns into a smooth mixture.
  • In another bowl, whisk all the dry ingredients together - the flour, almond meal, salt and baking soda.
  • Slowly add the dry ingredients to the wet ingredients and mix until well incorporated.
  • Grease or line a cookie sheet with parchment paper. Using 1 level tablespoon per cookie, roll dough into balls. Place on prepared sheets, at least 1 inch apart. Using the floured end of a thick wooden spoon handle (or your thumb), press lightly in the center of each cookie. Place a whole almond or sliced almonds in each indentation.
  • Bake, rotating sheets halfway through, until golden brown, 12 to 15 minutes. Let cool slightly; transfer cookies to a wire rack to cool completely. 

Enjoy with tea or as a dessert!

Apr 28, 2011

Eggless banana walnut muffin and a product review

Bananas and walnuts make a great combination. They taste great when baked together. I always look out for quick bread recipes to have along with our evening tea and this recipe from Raks definitely suited my needs. It tasted delicious and it is eggless! The muffins turned out soft and moist with a bite and crunch from the walnuts.


I received a pack of Xylitol for a product review and I substituted xylitol instead of sugar in the recipe and we loved the taste. We definitely did not miss the sugar. Dont get fooled by the name Xylitol. It is NOT a chemical based sweetener. It is a 100% natural sweetener. It is an all natural sugarless sweetener from birch trees. It has the same sweetness and consistency as sugar. However it has 40% fewer calories, 75% fewer carbs, and is safe for diabetics. It is a perfect alternative to artificial sweeteners while avoiding regular sugar as well.

Now on to the recipe..

Ingredients
Banana - 2 ripe ones
Maida/All purpose flour - 3/4 cup
Walnut - 1/4 cup chopped
Xyitol or Sugar - 1/2 cup
Oil - 1/4 cup
Baking soda - 1/2 teaspoon
Baking powder - 1/2 teaspoon
Vanilla essence - 1/2 teaspoon

Directions
  • Preheat oven to 375 degree F.
  • Peel and mash the bananas well into a smooth paste. Add all the oil, vanilla essence and the xylitol/sugar and mix well.
  • In another bowl, mix together the dry ingredients - flour, baking soda and baking powder.
  • Slowly add in the wet ingredients to the flour mixture and mix just until blended. Do not overmix, this might make the muffins hard and dense.
  • Add the walnuts and stir them in to the batter.
  • Line the muffin pan with muffin liners and grease them with non-stick spray if desired.
  • Pour the batter to 3/4th the level. The batter rises and yields a good muffin top. Top off with a few walnut pieces.
  • Bake at 350 degree F for about 28 to 30 minutes.
  • Serve warm with butter or just by itself! Also makes a quick breakfast!
Sending this to Show me Your Muffin hosted here at Dil Se..


Apr 11, 2011

Almond Butter Oats Cookies for Maitri

Have you checked out Maitri yet? It is a friendship chain in which you get a box of mystery from a foodie friend! Exciting right? For more details check out Priya and Reshmi's sites.

I was matched with Savitha and I received a fun package from her last week. The mystery ingredient was quick cooking oats. She also sent me a little measuring cup. Thank you so much Savitha. I use the oats and the measuring cup today to make these delicious cookies!
I recently discovered the goodness and deliciousness of almond butter and picked up a huge jar at Costco. I used it to make these cookies and they tasted great with a glass of milk. They also make a great tea-time snack or even a dessert!

Moving on to the recipe..

Ingredients (Yields 1 dozen cookies) 
Dry ingredients

Whole wheat flour - 1 cup
Rolled oats/Quick cooking oats - 1 cup
Baking powder - 1 teaspoon
Brown/White Sugar - 3/4 cup
Salt - 1/4 teaspoon


Wet Ingredients
Vegetable oil - 1/4 cup
Almond butter - 1/4 cup
Milk - 1/4 cup
Vanilla extract - 1 teaspoon


Directions
Preheat oven to 350F.

Line baking sheet with parchment paper or lightly grease the baking sheet.

Combine dry ingredients in a mixing bowl. Mix wet ingredients in a separate bowl.

Add dry to wet and mix until just combined. Form a lemon sized ball, and press onto baking sheet until 1/2 inch thick. you could use a fork to flatten out the cookies. It also gives a nice imprint on the cookies.

Bake until lightly browned, about 15-17 minutes. After about 5 minutes, transfer the cookies to a wire rack and allow them to cool. The cookies will not firm and crisp up until they are cooled.
Enjoy some warm cookies along with milk or tea!

Apr 7, 2011

Pesto Pizza

It is Sweet Punch time again! This time Divya selected Pizza as the bake. I loved baking the pizza. The base took no more than 10 minutes to put together. It tasted delicious too. For the toppings, I kept it simple by using a store bought pizza sauce and topped it with fresh pesto sauce, cherry tomatoes, black olives and cheese. The pizza toppings are inspired by a pizza we get at a local pizzeria. It is more of the mediterranean style toppings. Mozzarella would have been a great addition, but since I did not have it, I used a combination of shredded cheeses.  I halved the recipe for the pizza base and made one medium sized pizza.


A great way to make a quick and delicious meal.

Ingredients
For the base (Makes two crusts)
(Recipe Source: The Pioneer Woman)
Active Dry or Instant Yeast - 1 teaspoon
All-Purpose Flour - 4 cups
Kosher Salt - 1 teaspoon
Extra Virgin Olive Oil - 1/3 cup

For the toppings
Pizza sauce - 3 tablespoons
Fresh Pesto - 2 teaspoons
Cherry tomatoes
Olives
Shredded cheese
Oregano - 1/2 teaspoon
Parmesan cheese - 1 tablespoon

Directions


Sprinkle yeast over 1 1/2 cups warm (not lukewarm) water.

In a mixer, combine flour and salt. With the mixer running on low speed (with paddle attachment), drizzle in olive oil until combined with flour. Next, pour in yeast/water mixture and mix until just combined.
Coat a separate mixing bowl with a light drizzle of olive oil, and form the dough into a ball. Toss to coat dough in olive oil, then cover the bowl tightly with plastic wrap and store in the fridge until you need it. 
Sprinkle the pizza stone or baking sheet with cornmeal/semolina.Roll out the pizza to your liking[thin/thick]. Spread the oil over the dough. Spread enough pizza sauce over the base. 

Then add all other toppings - pesto sauce, cherry tomatoes, olives and  oregano.

Then top with required amount of cheese.

Preheat oven to 500F.
Bake for about 15-20 minutes or till the cheese starts bubbling and the pizza is evenly cooked/browned.

Serve hot! Think before you order your pizza next time, when it can be made so easily at home!


Mar 7, 2011

Wholewheat almond cookies

When I came to know that this was March's Sweet Punch bake, I immediately knew i was going to bake these cookies. They came together in a jiffy and uses day-to-day ingredients always available in my pantry. They can be made just before tea or when you have sudden guests. Even though it uses simple ingredients, these cookies taste exotic with aromatic cardamom in them. I used a little more almonds than mentioned in the recipe and it gave a nice crunch to the cookies. I served them with tea and they got over in no time!

Ingredients
Recipe Source: Manjula's Kitchen

Whole wheat flour - 1 cup
Sugar - 1/2 cup
Salt - 1/4 teaspoon
Sliced almonds - 1/4 cup
Elaichi powder/Cardamom powder - 1/2 teaspoon
Unsalted butter - 1/2 cup or 8 tablespoons
Milk - 2 tablespoons or as needed

Directions

  1. Pre heat the oven to 360 degree F.
  2. In a bowl, mix the flour, sugar, salt, sliced almonds and cardamom powder well.
  3. Next add soft butter and milk to the flour mixture to make dough. Dough should be very soft.
  4. Divide the dough into about 24 equal parts and make them into balls.
  5. Press each ball between your palms lightly; every piece should be about 1/2” in thickness.
  6. Place the dough balls on an ungreased cookie sheet about inch a part.
  7. Bake the cookies for about 18 minutes or until cookies are lightly gold brown.
  8. After they become lightly golden brown remove the cookie sheet from the oven. Let the cookies cool down for two to three minutes before taking them off the cookie sheet.
  9. Enjoy with tea/coffee.
Related Posts Plugin for WordPress, Blogger...